Assembly of the NES
Once the chassis has been inspected and all water completely removed, it is time to re-assemble.
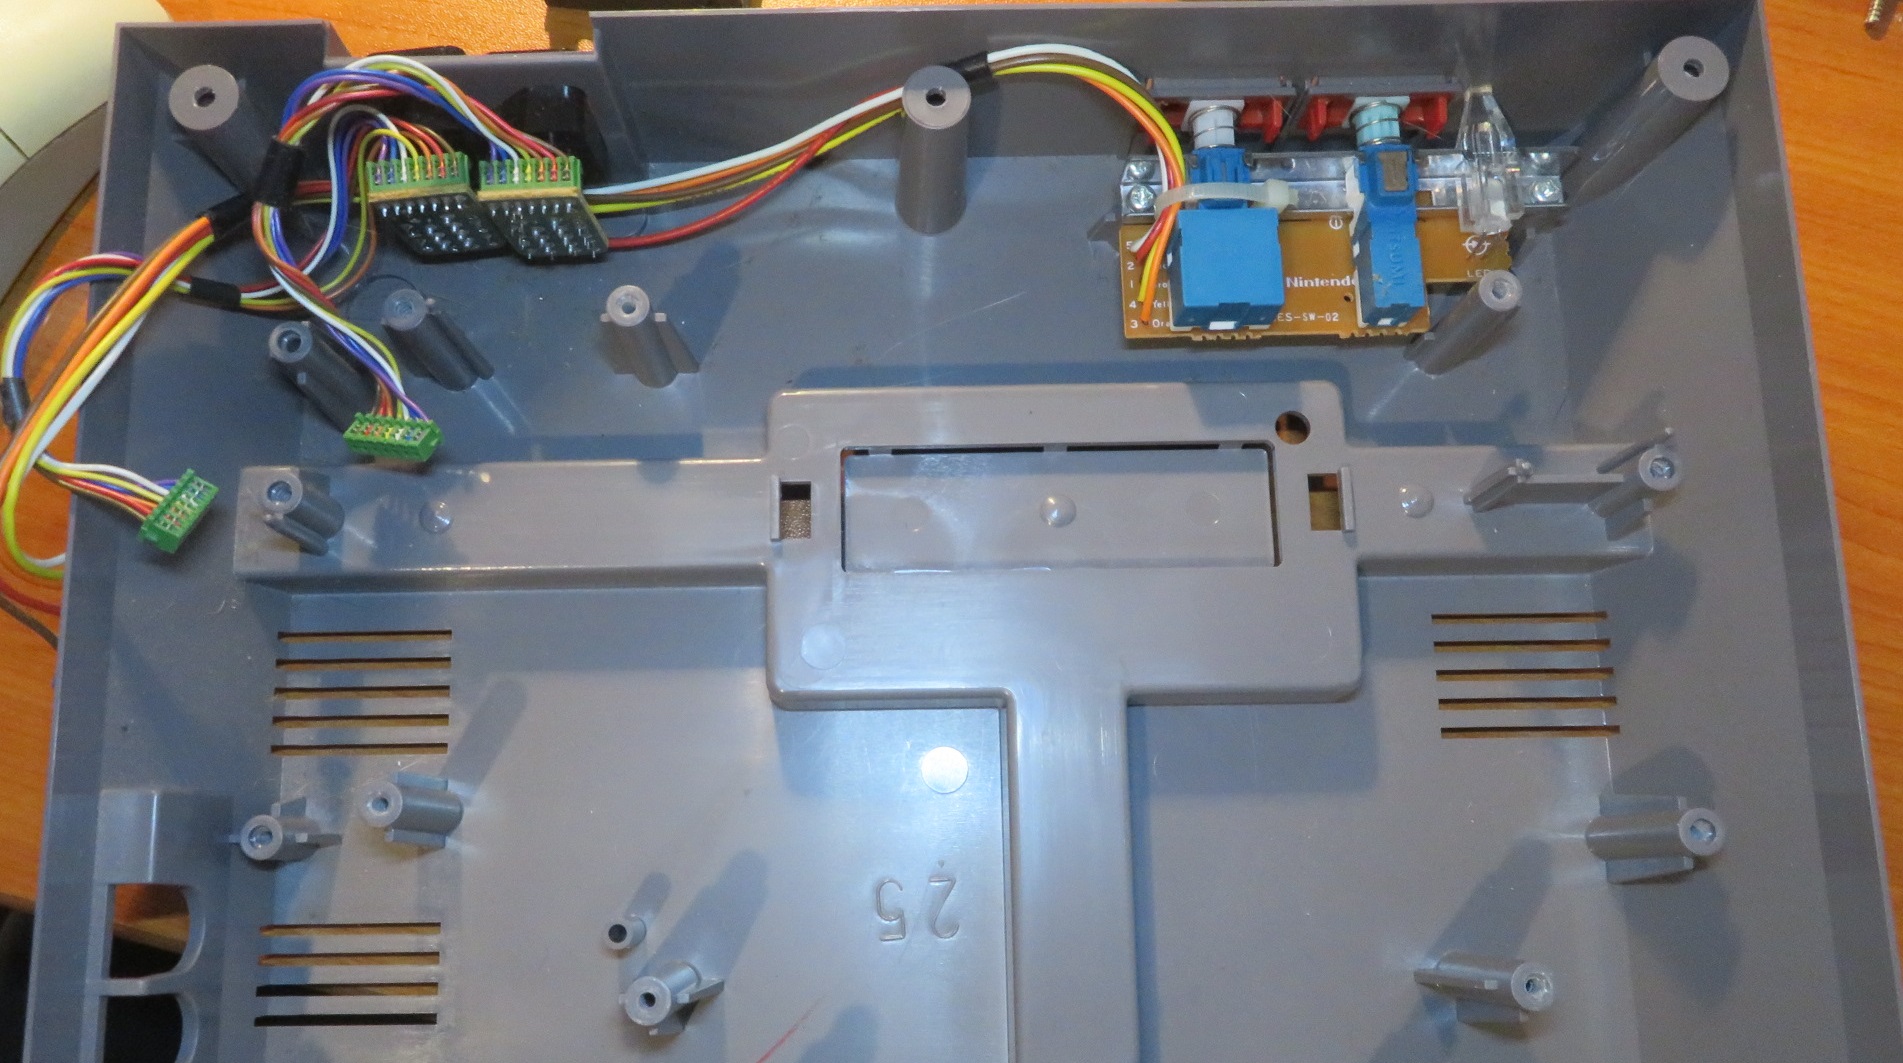
First are the power/reset switch and controller ports
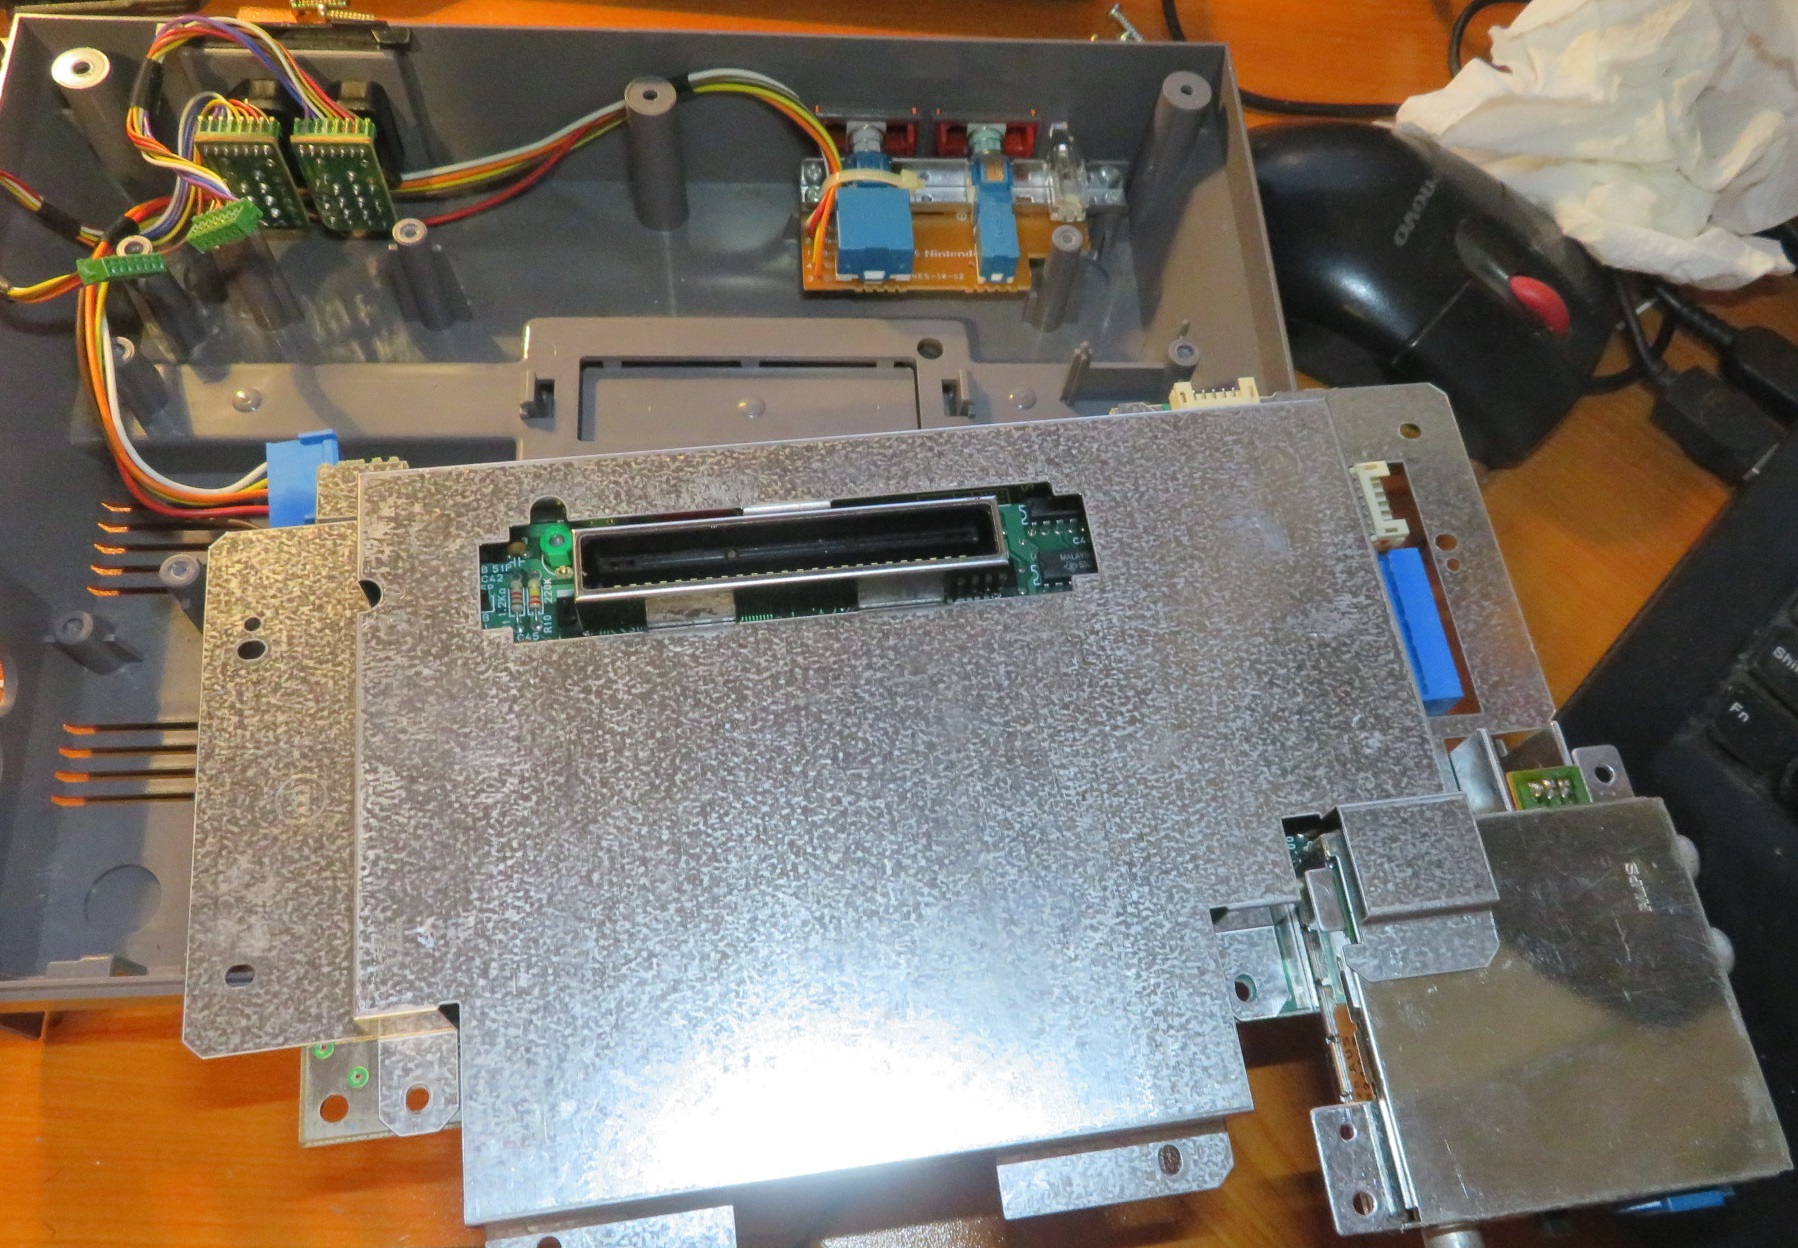
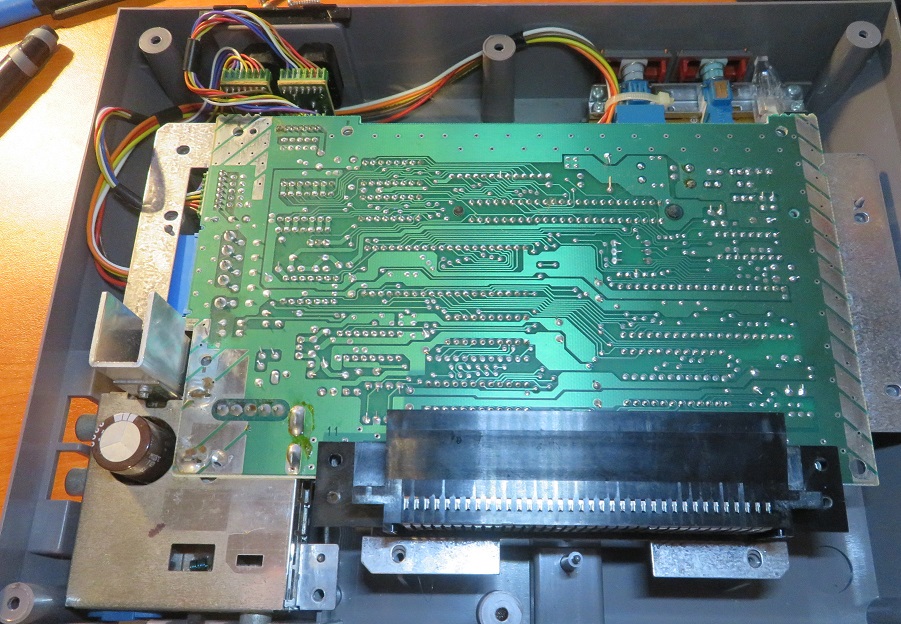
Next we prepare the motherboard to fit the EMI shield. Fit the edge connector onto the motherboard.
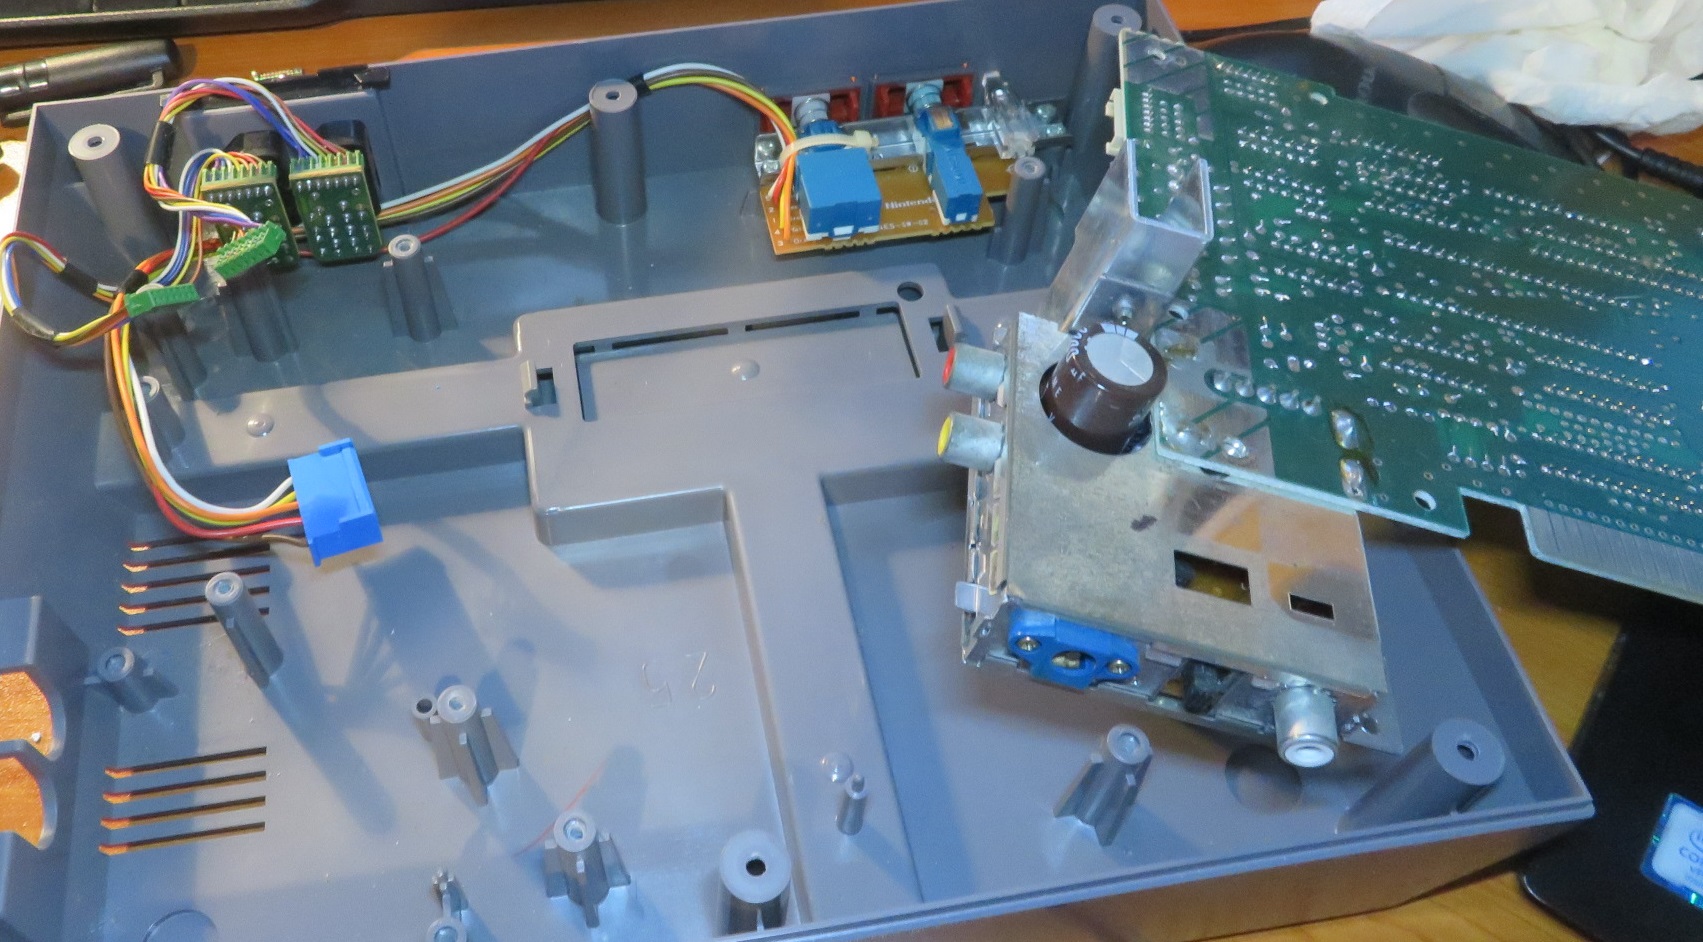
The wiring harness is fitted back to the motherboard
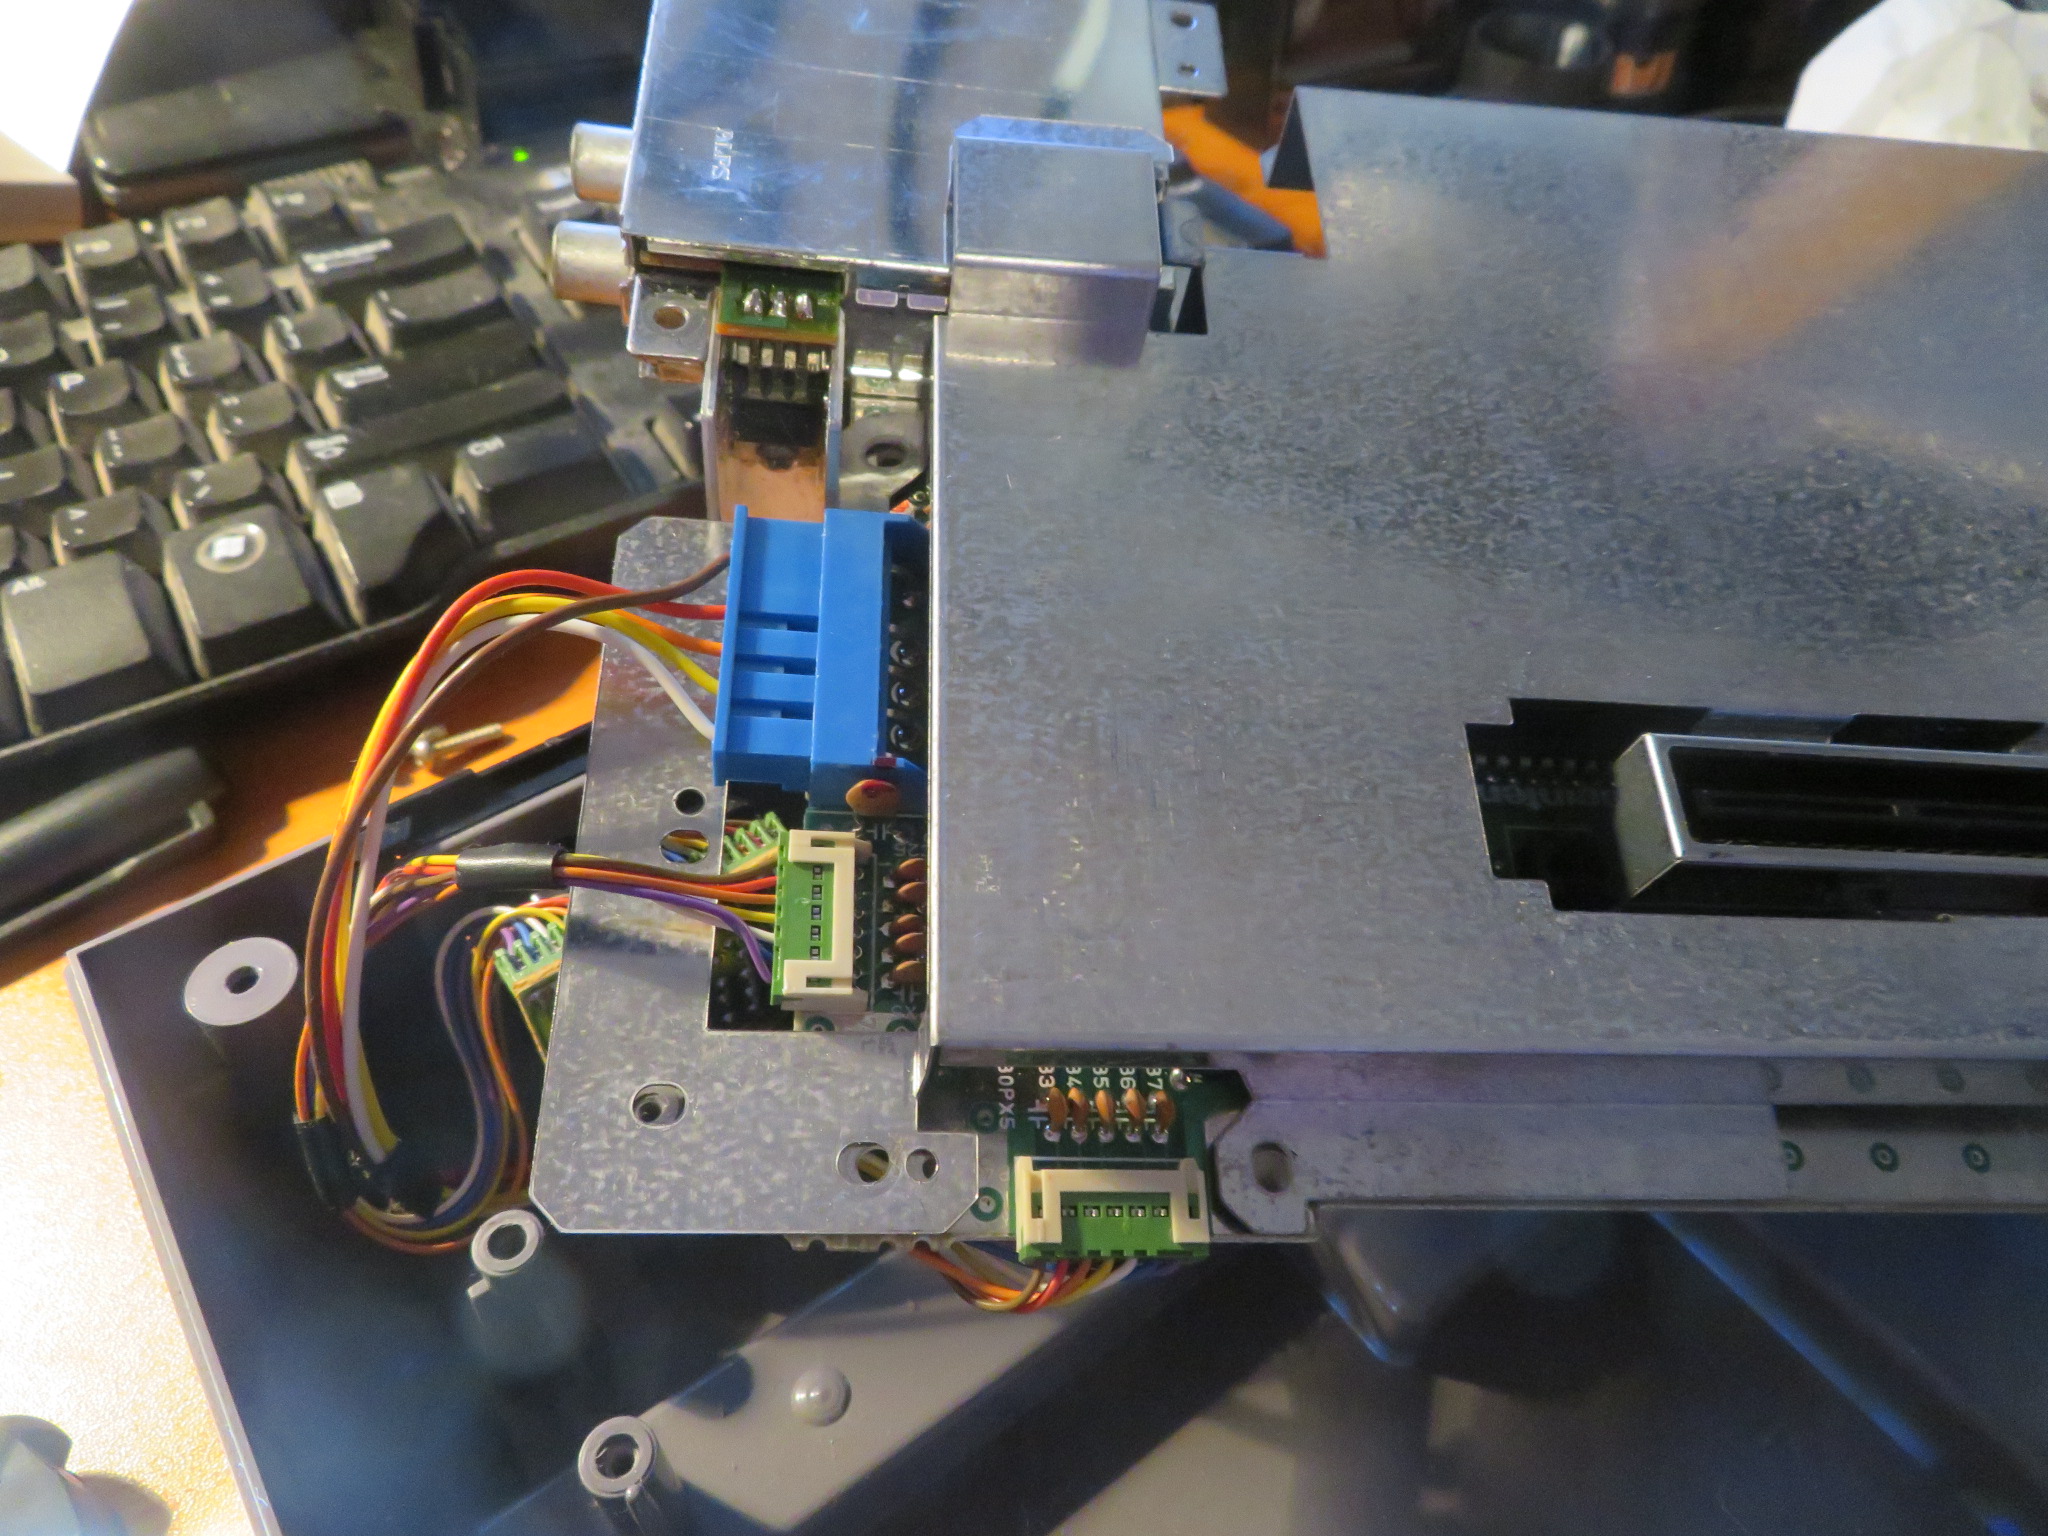
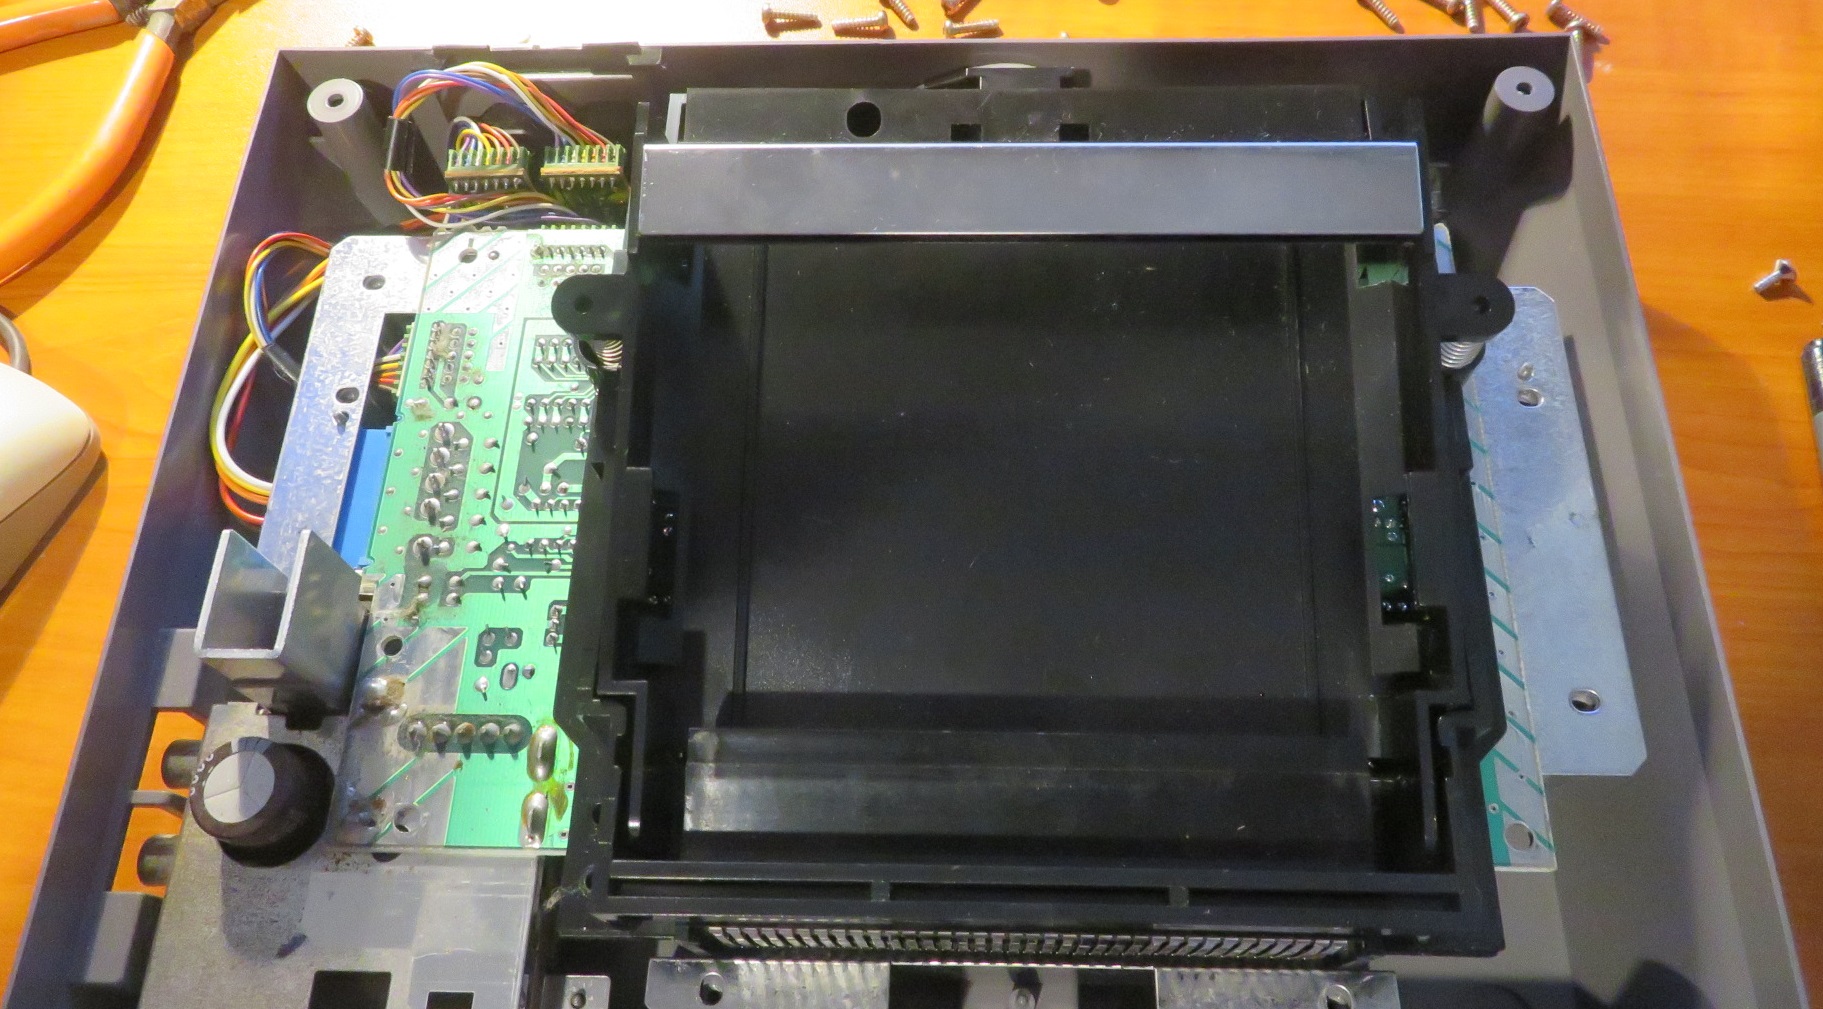
The unit should look like this now
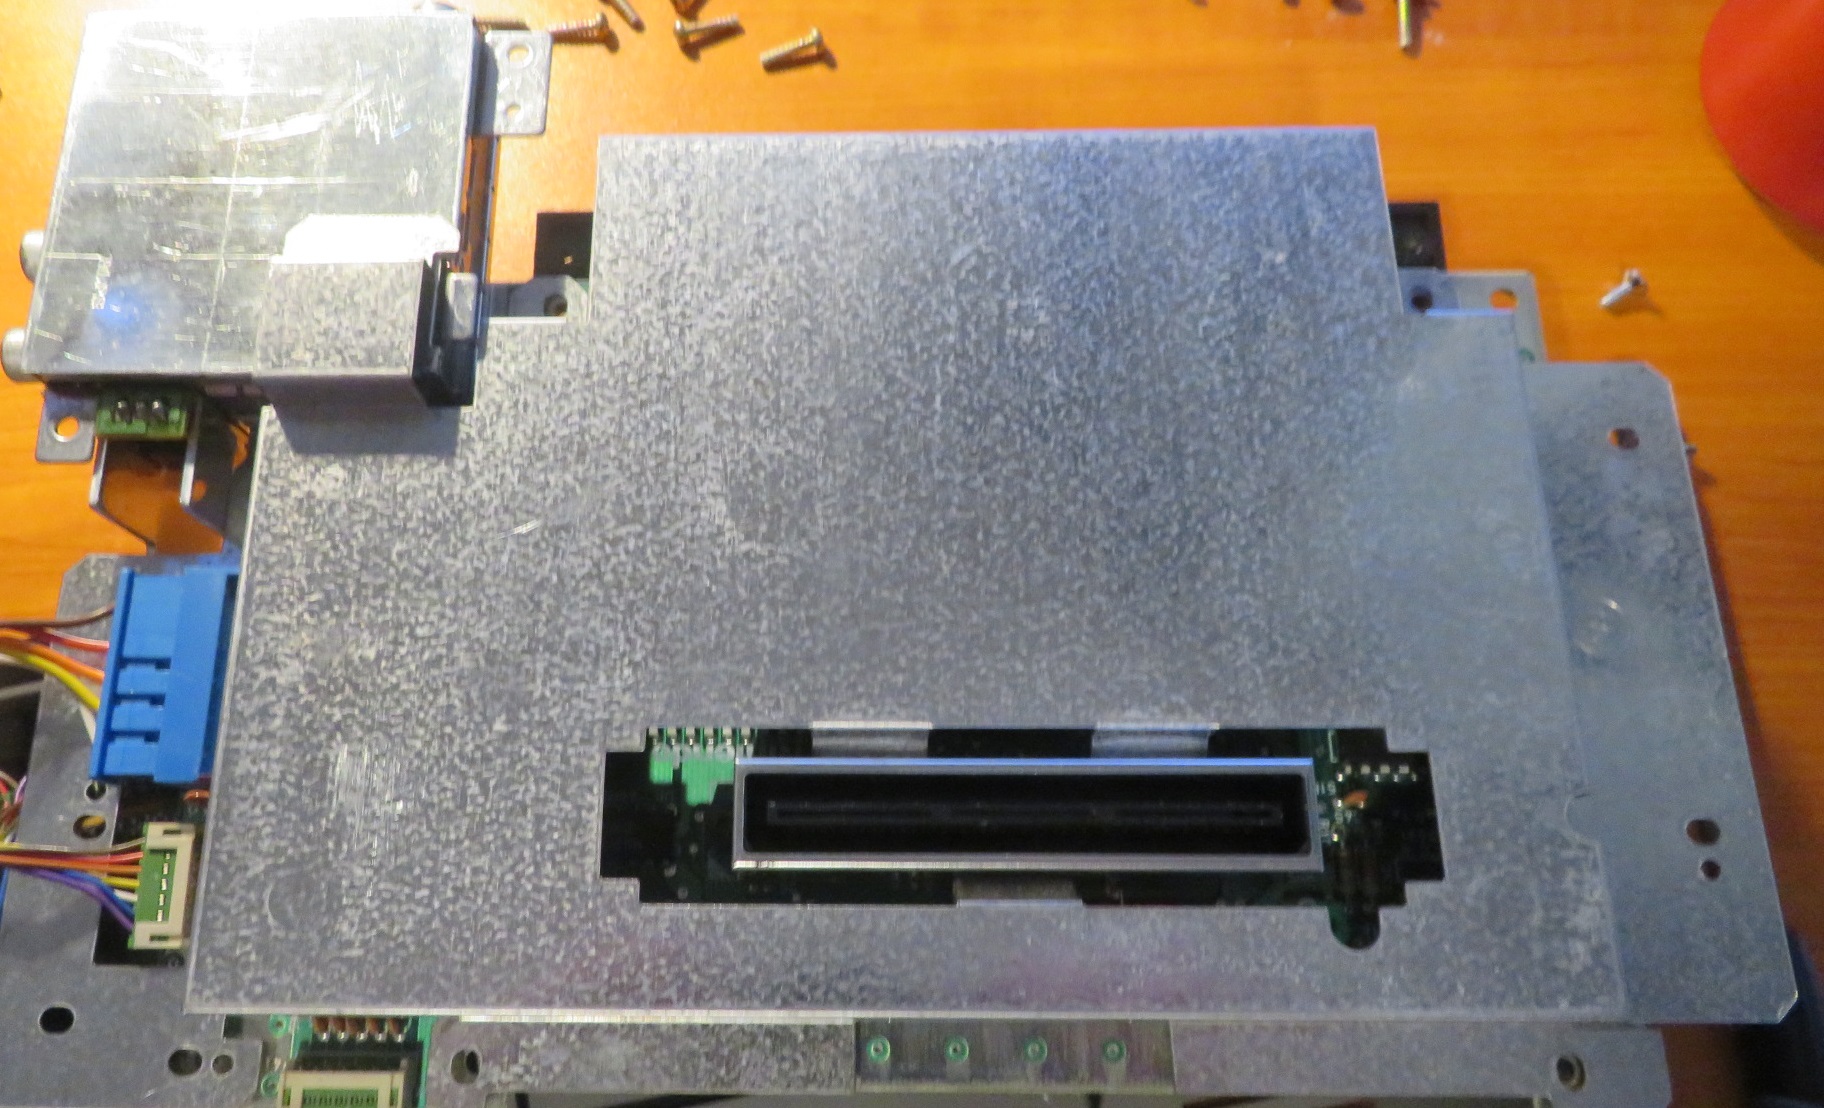
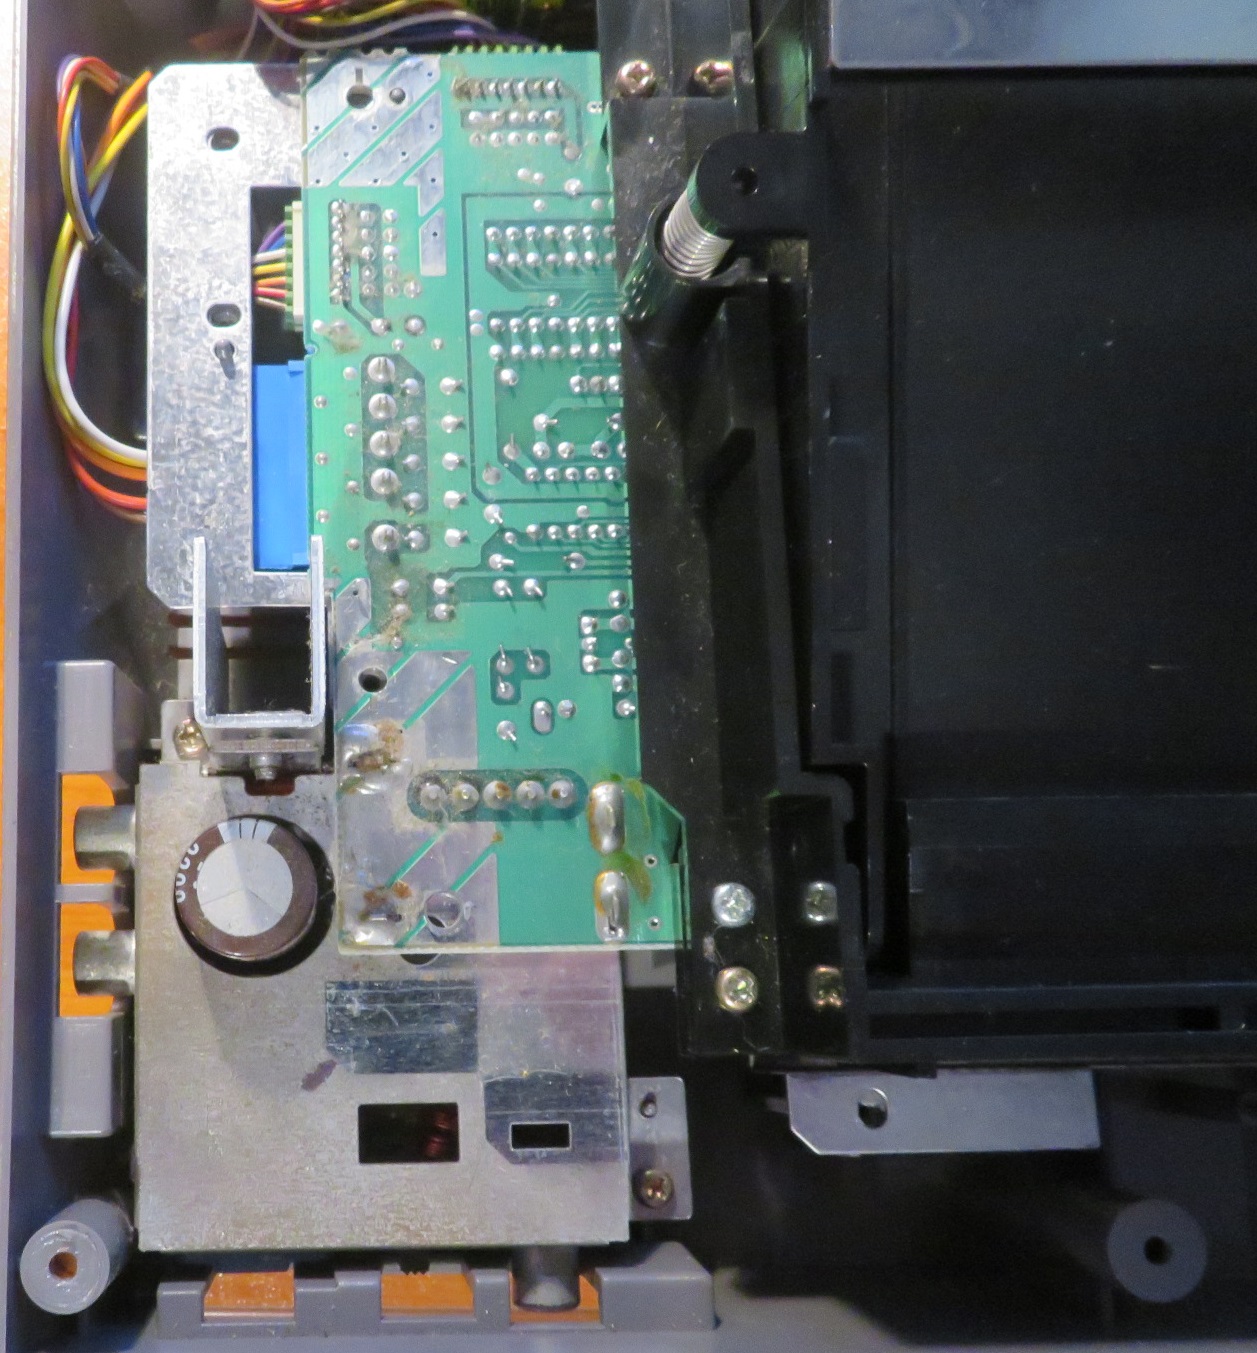
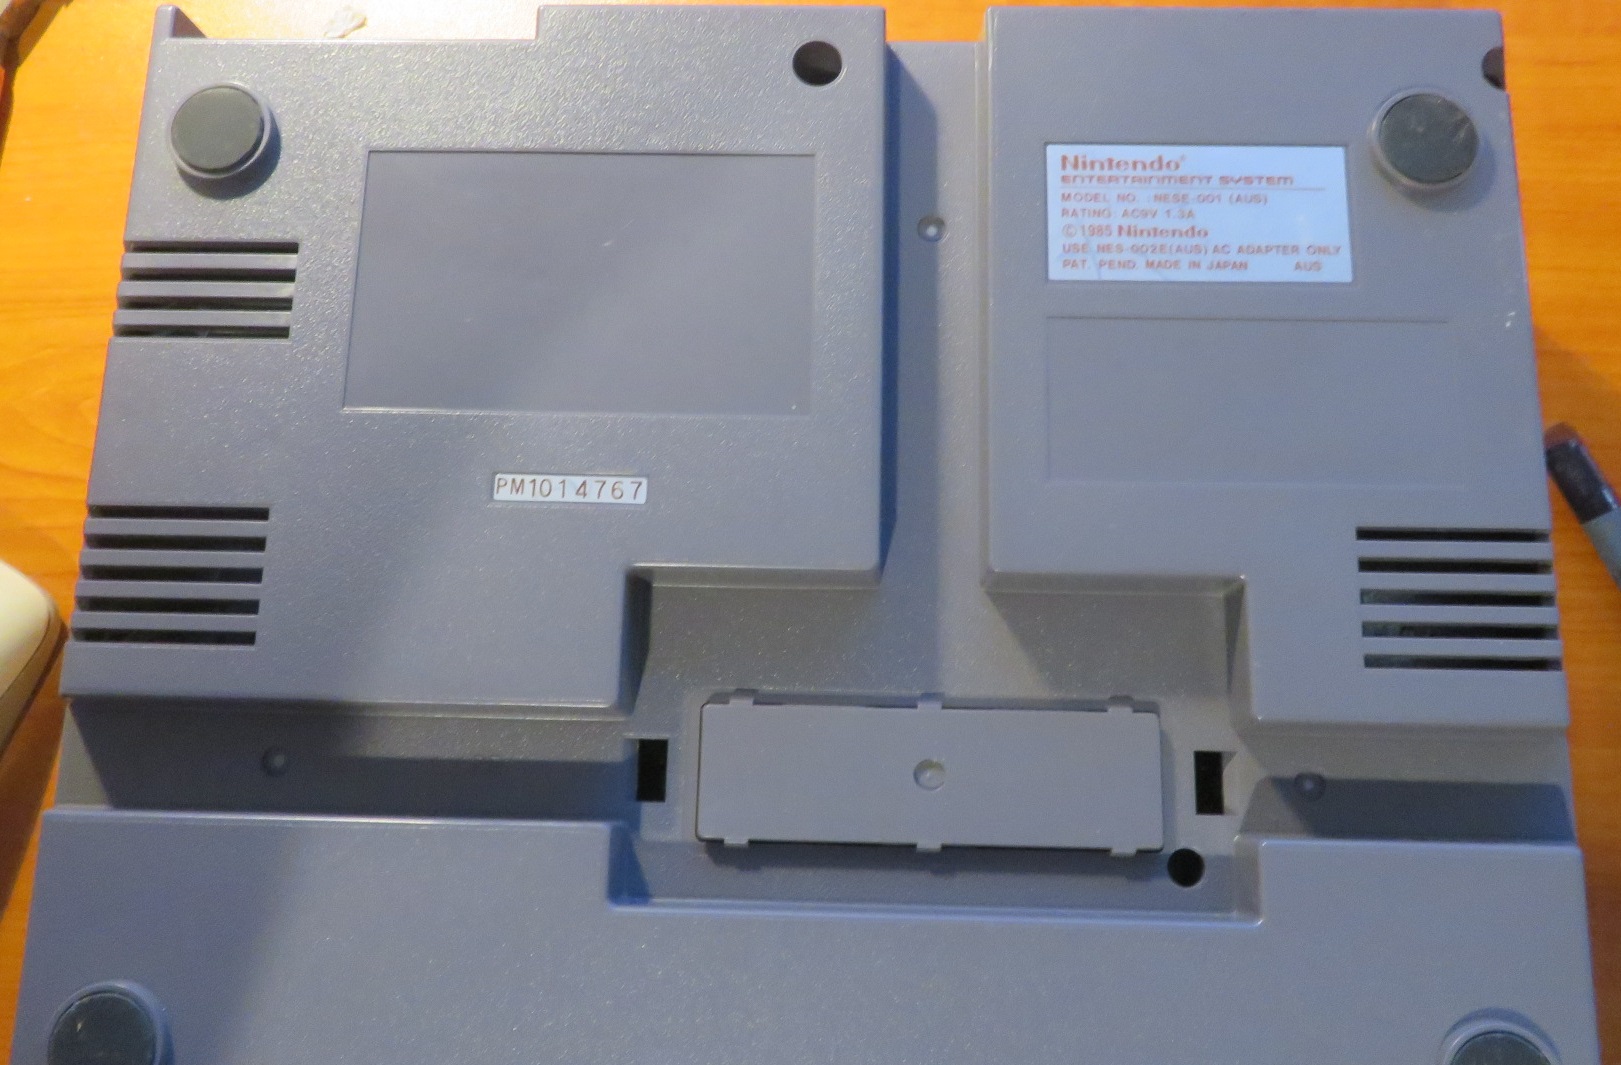
When flipped and inserted into the chassis, the holes will line up as shown below.
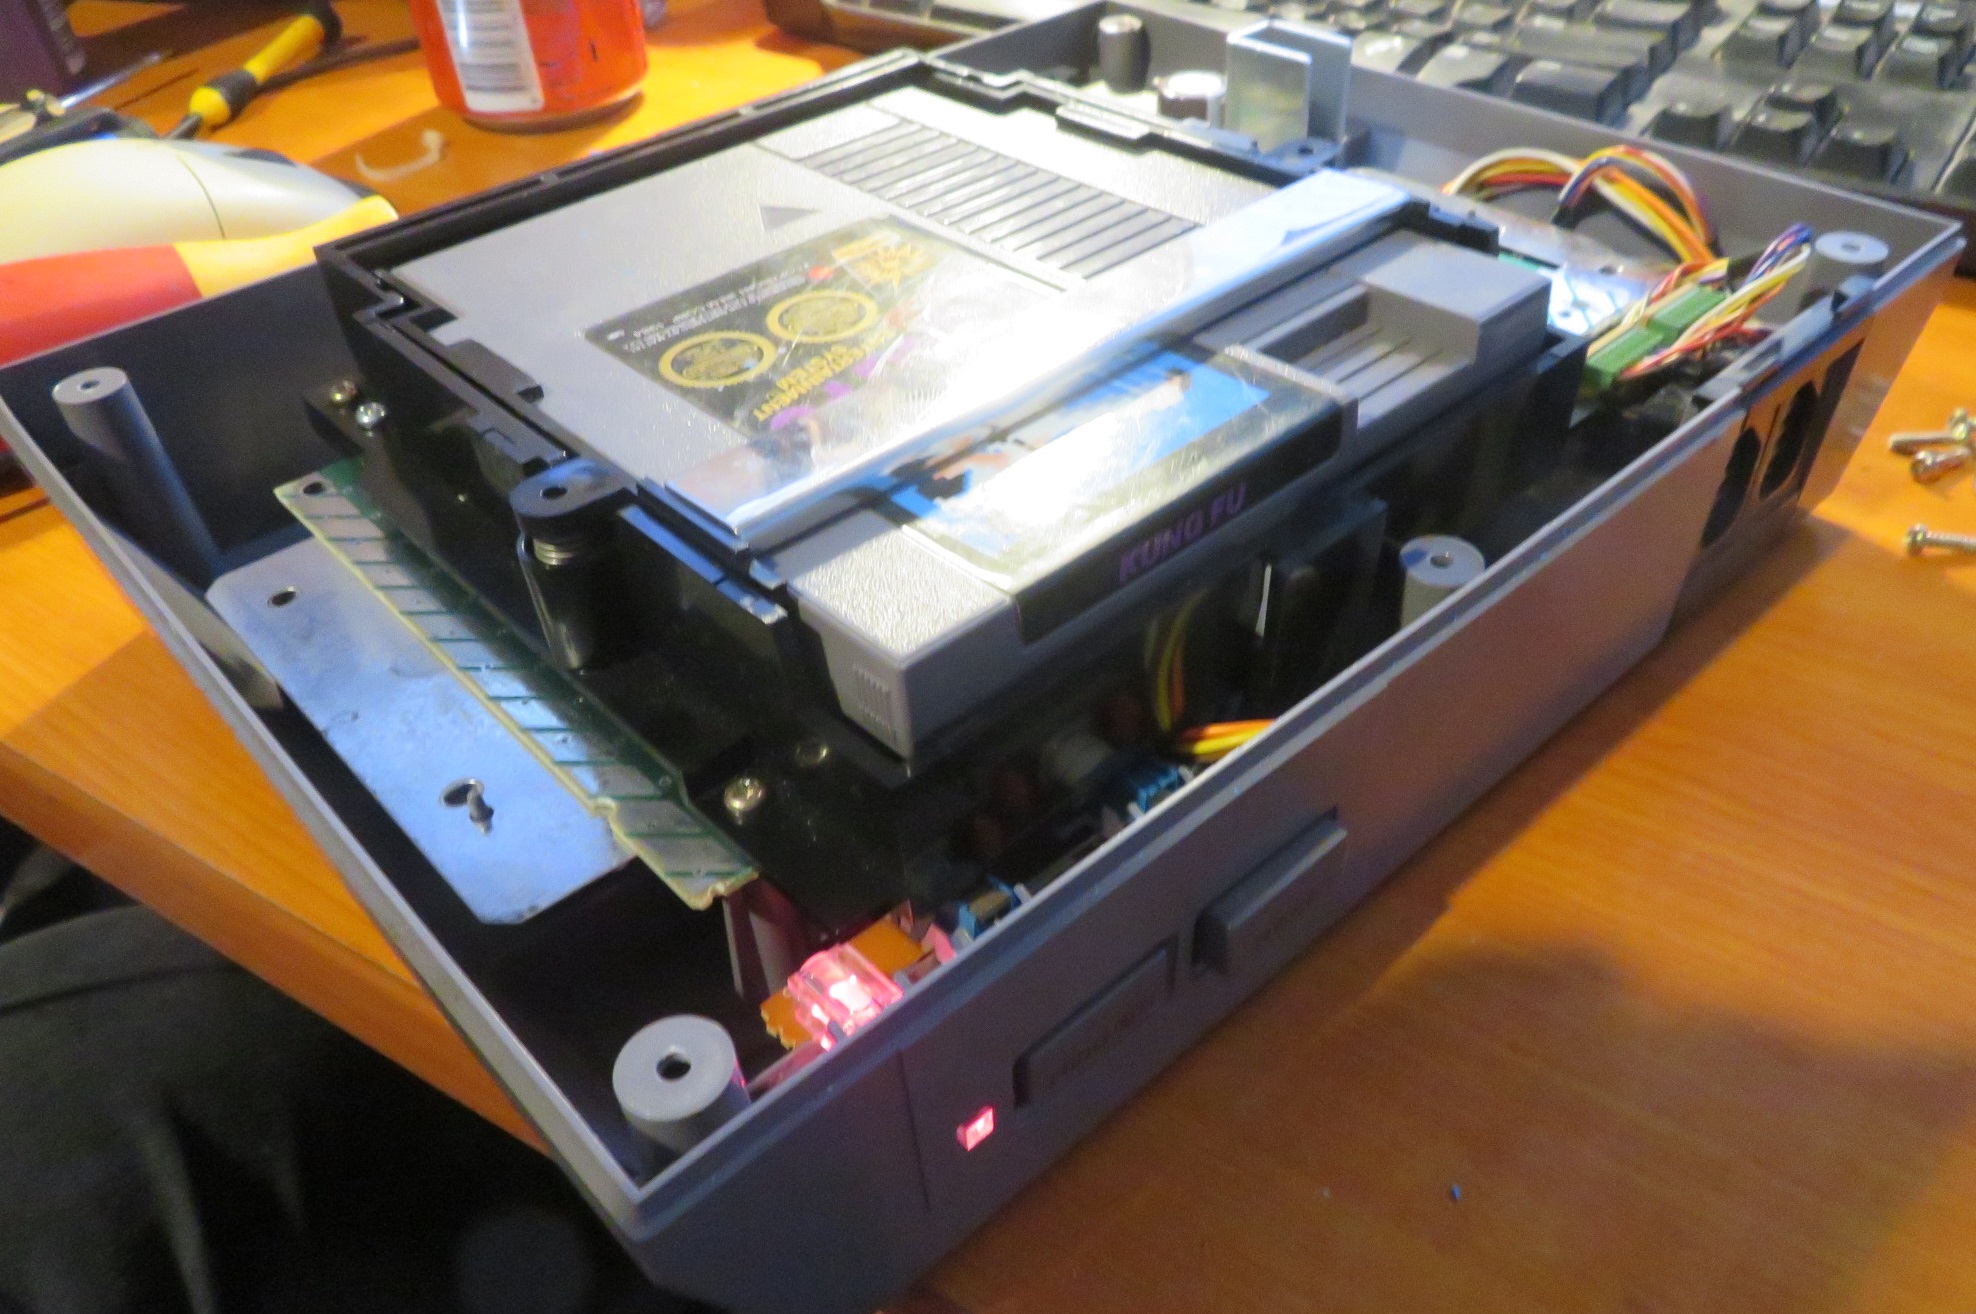
This is a good time to check the operation of the unit as it is functionally ready to accept power and check. Otherwise, we could be fully re-assembling and then find out still no improvement has been achieved. So prepare the unit to accept the power and positioned to accept a cartridge and turn on.
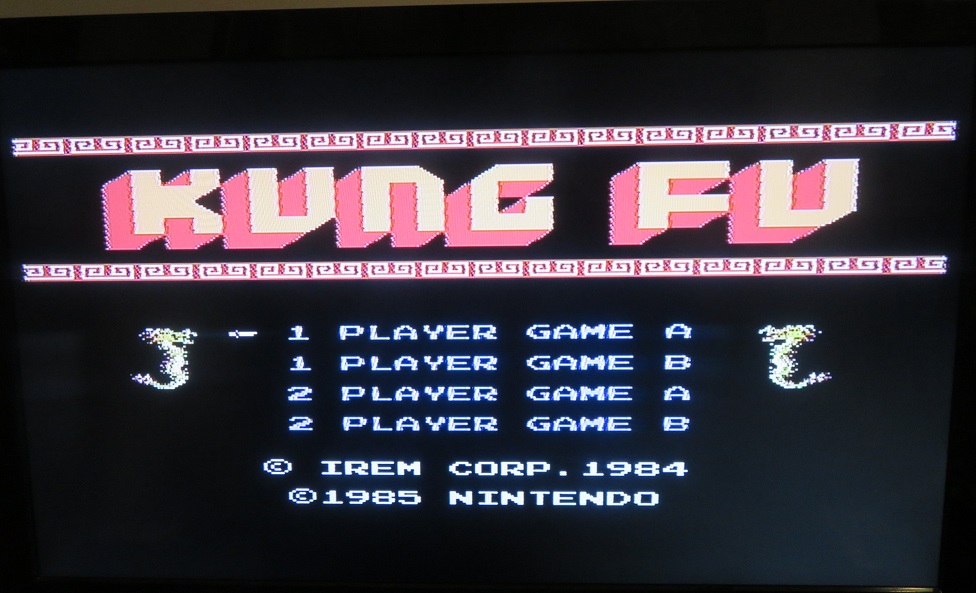
Power on the unit and check for a game to see if it works.

In this repair, there was no improvement at all. So I reseated the game cartridge a few times and after a 2nd attempt the NES booted to the game. The following were concluded:
The NES has no electronic fault on the motherboard and power supply and
The NES cartridge system is still sensitive to poor electrical contact.
The NES was disassembled and the edge connector plug was removed and further cleaning done on the section where the cartridge makes contact with the connector. Each pin was very lightly scrubbed with fine steel wool and cleaned with isopropyl alcohol. The unit was re-assembled and retested. These pins often have gold plating and rubbing this even mildly can remove this plating. So only scrub very lightly if this is needed.
This time the cartridge worked each time. One other thing to try is to check the game cartridge as it could also be a source of problems. But several cartridges were used to allow me to assign a high probability the root cause was not on the game cartridges.
Caddy Assembly
Next on the assembly is the caddy that holds the game cartridges.
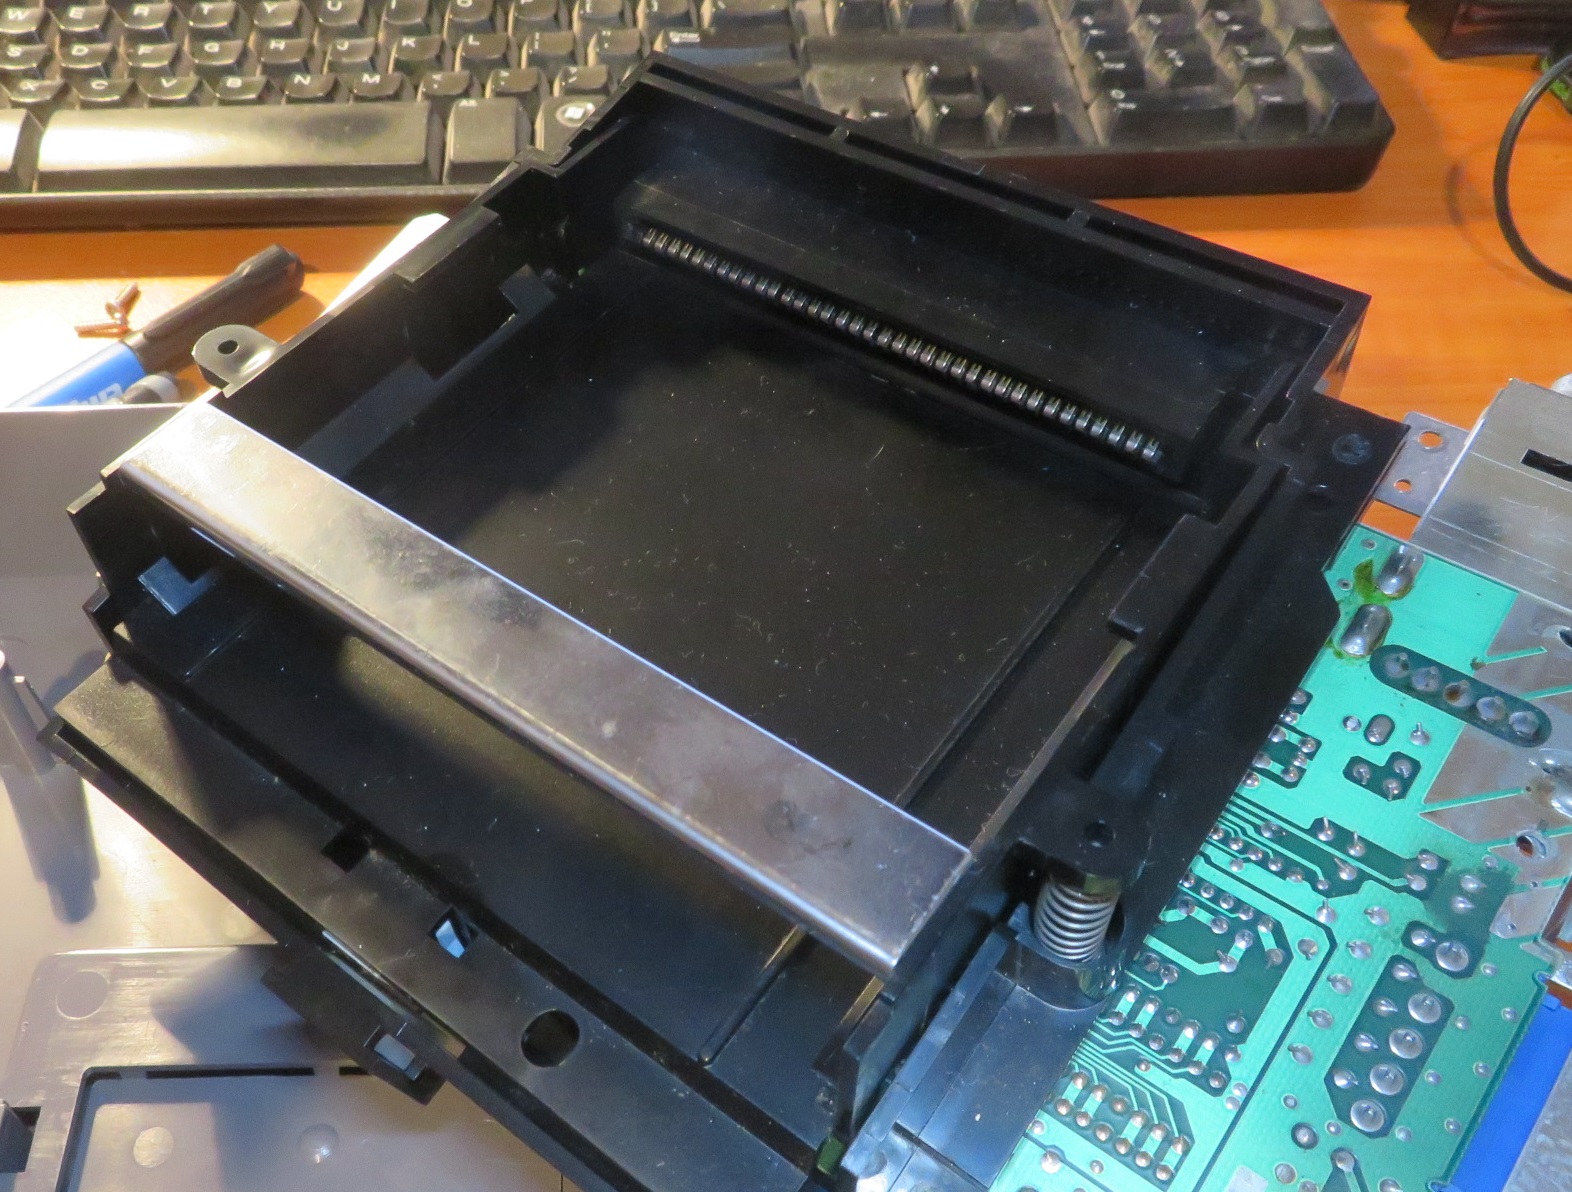
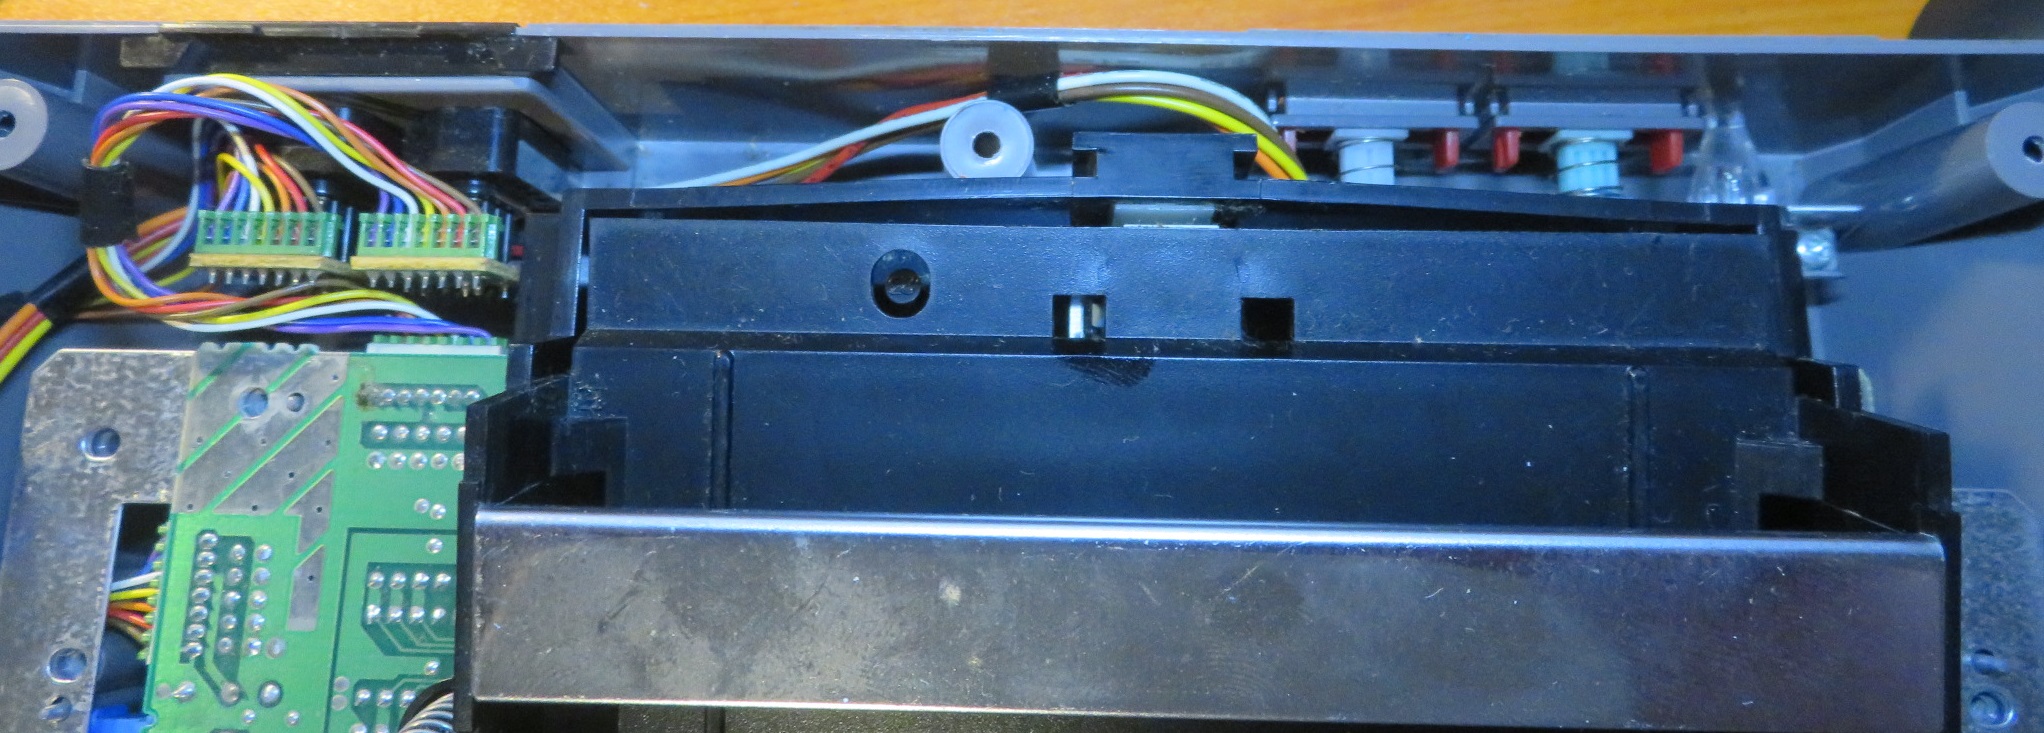
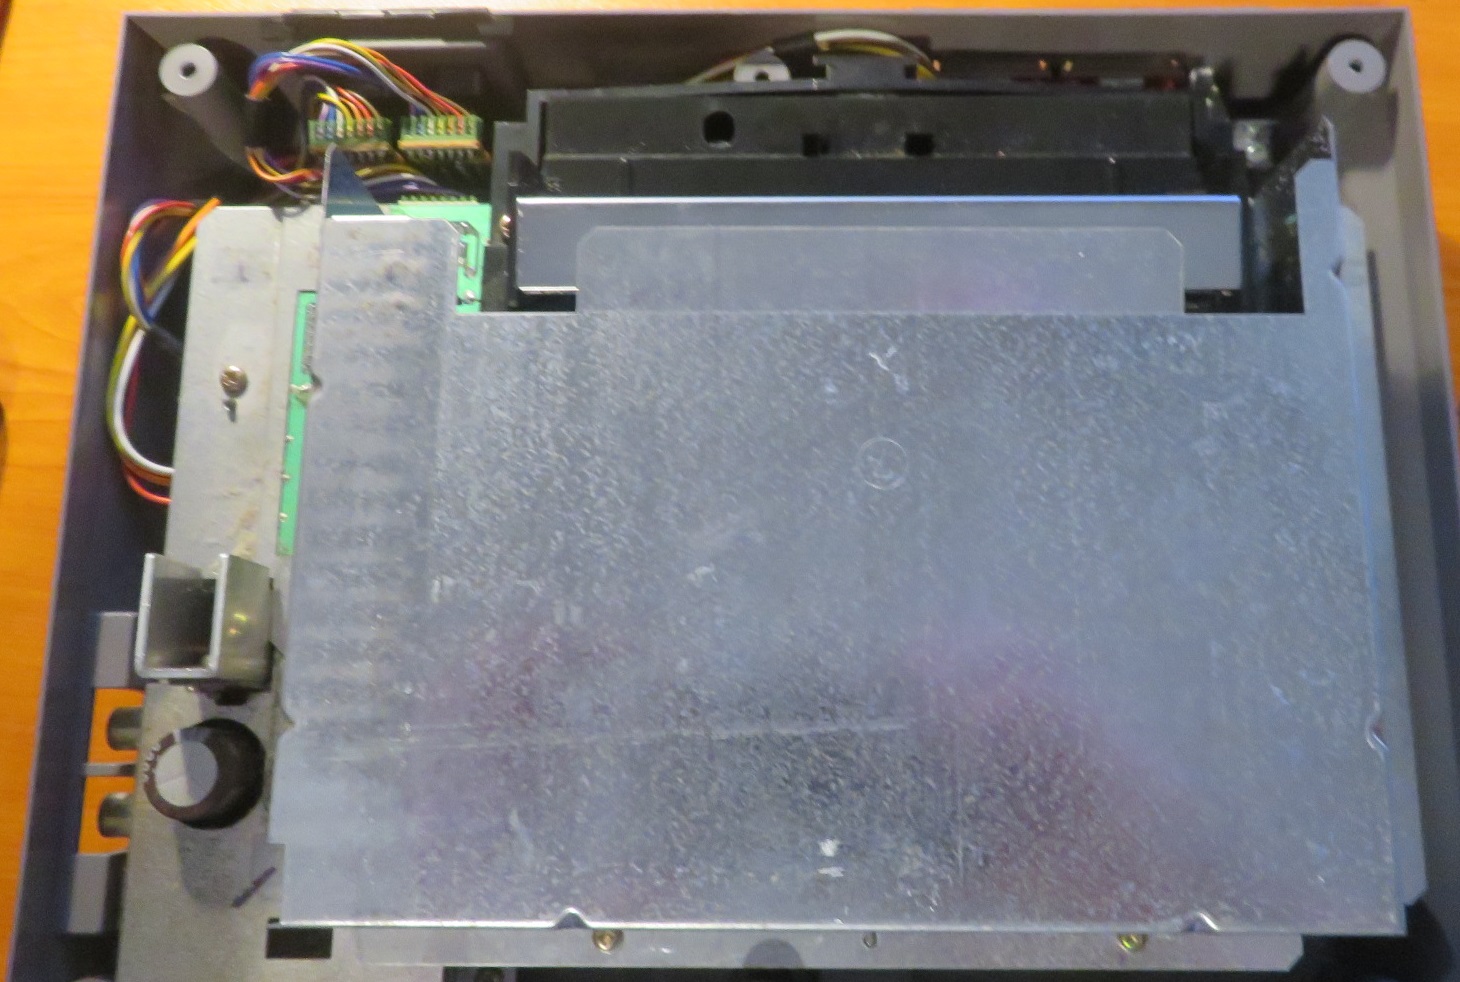
Be careful with mounting the caddy as incorrect assembly can result in fouling of the chassis as seen below.
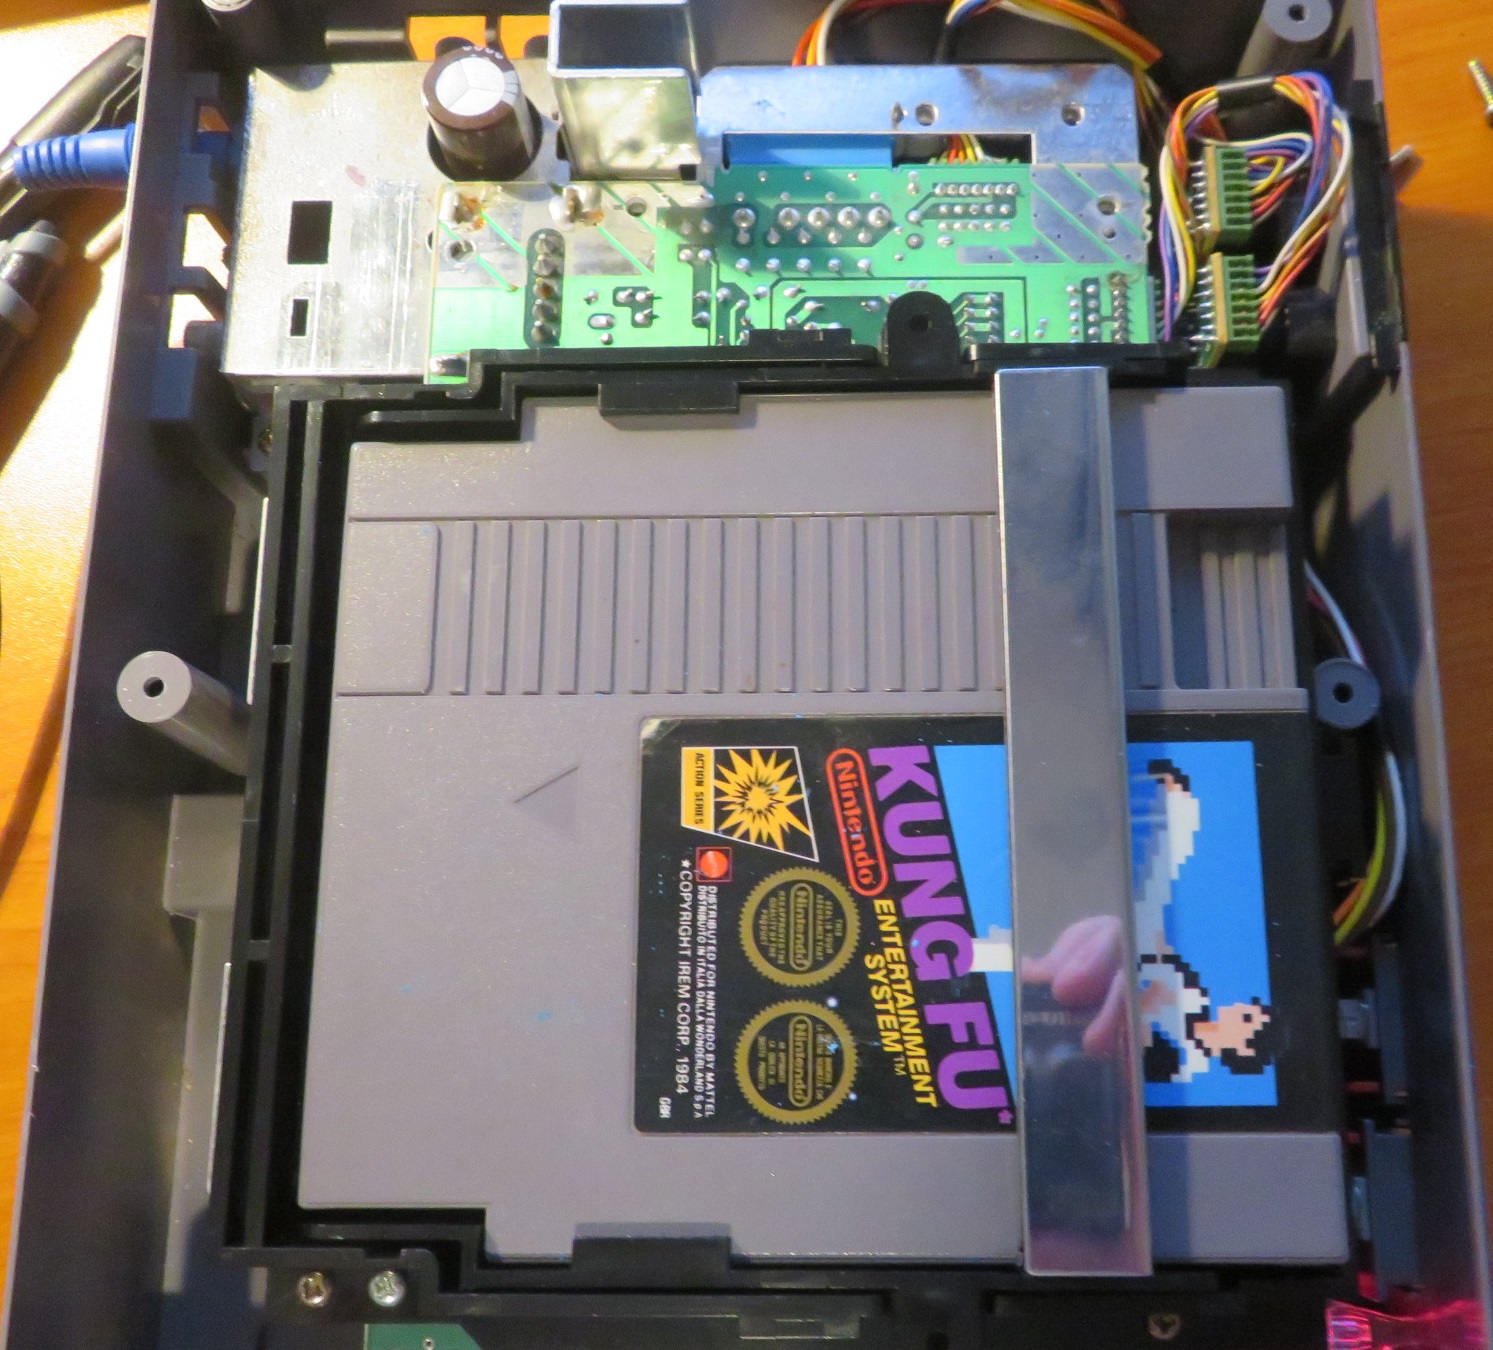
A check is done here again to see if the cartridge inserts without issues and the NES boots up a game.
The top shield goes on and notice in the following photo how the caddy has been assembled incorrectly by evidence of the bulge at the top of the image. If this happens, remove the caddy and re-assemble correctly.
The top may be assembled and screwed in from underneath
Make sure the controller port dressing window is screwed in.

Check the NES still boots up and has a solid feel and no screws are left.
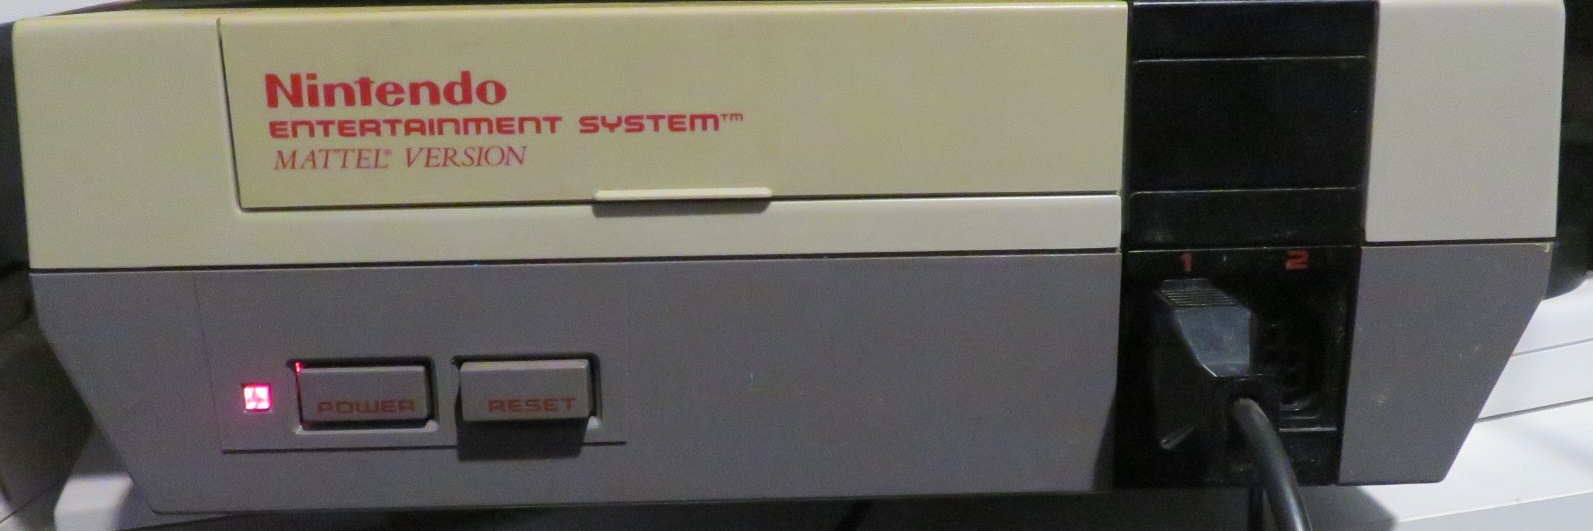
Check the unit by inserting a game cartridge and enjoy.
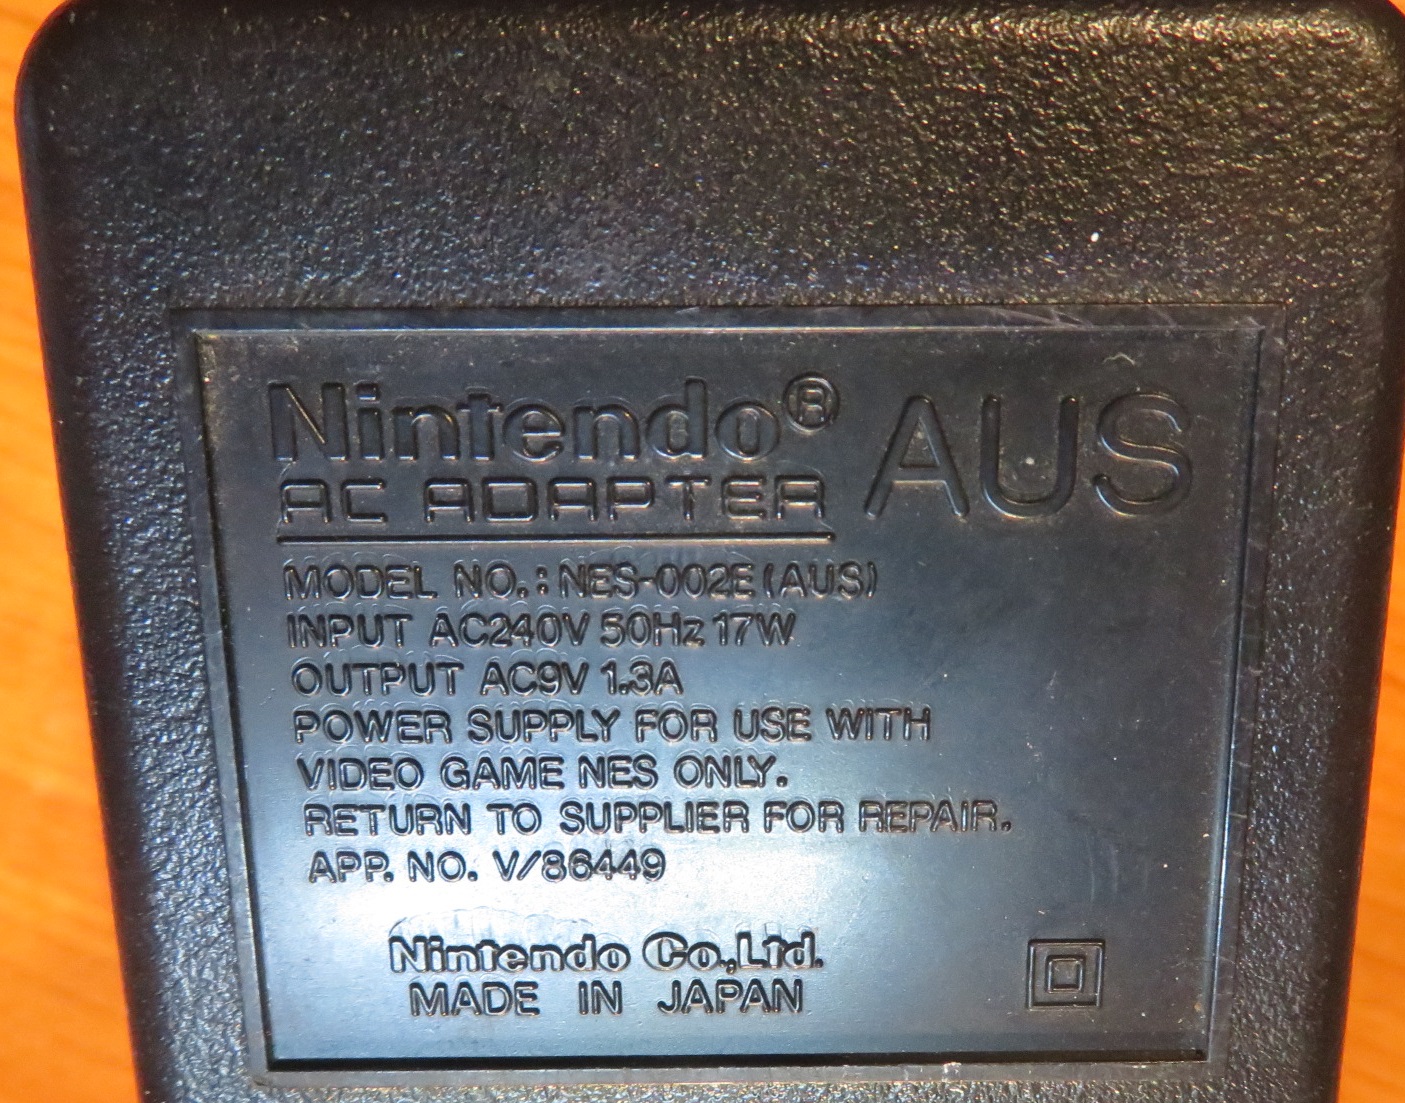
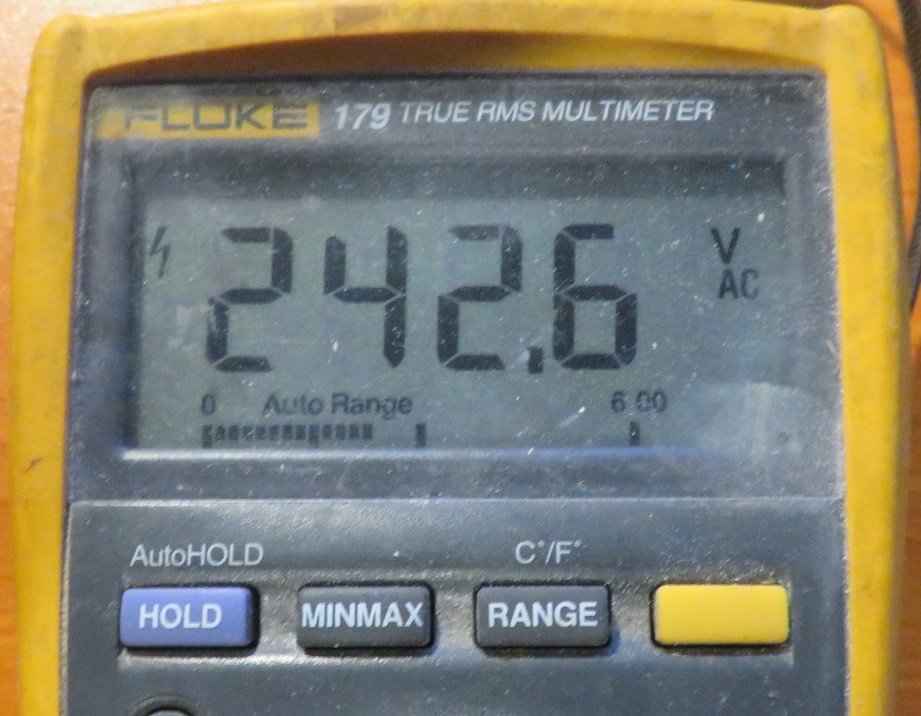
You can also check the power supply to make sure it is operating within specification. The NES power supply for 240V systems is simply a step down transformer so the output voltage will move according to the input voltage.
Below is the input voltage.
And this is the output voltage.
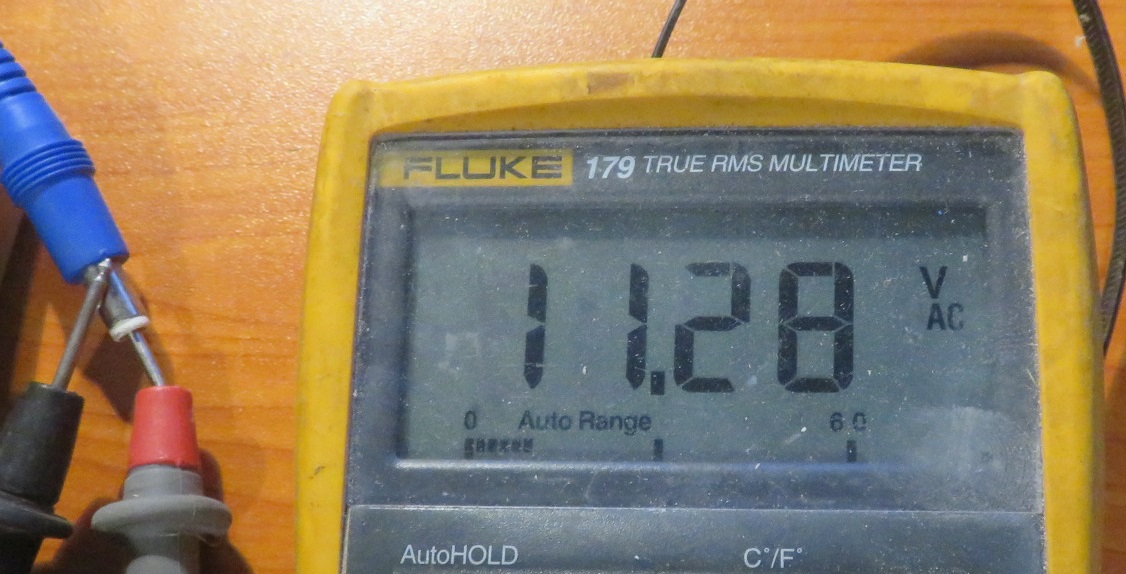
The NES Power Supply for a 240V system is rated for 240VAC input and 9VAC output. Typically a tolerance would be +5% and -10% so on this model, an output of 11.28V is on the high side but tolerable.